

The most effective way to lower bathroom humidity is to capture and extract water vapor at the source—while showering and immediately afterward—before it can condense onto cold surfaces. Reliable mechanical ventilation is the cornerstone of this process: an exhaust fan should move roughly 15 l/s (54 m³/h) of air and keep running well after the shower is turned off. Once proper airflow is established, a few everyday habits and heated surfaces will handle the rest. If ventilation alone falls short, a dehumidifier offers a dependable backup.
Quick overview:
- Measure: Keep relative humidity between 40% and 60%, ensuring it drops back down to this baseline within an hour of showering.
- Check the exhaust: Verify that the vent grille draws air actively and that there is a sufficient undercut beneath the door to supply make-up air.
- Let the fan run: Allow the fan to run for at least 20 minutes post-shower, ideally automated with a run-on timer or humidistat.
- Clear standing water: Squeegee tiles and glass enclosures, and avoid hanging wet laundry in the bathroom.
- Keep surfaces warm: Maintain steady underfloor heating or use a heated towel rail to curb condensation.
- Use dehumidifiers safely: Position portable units away from wet zones, or run them in an adjacent room with the door ajar.
What Is a Normal Bathroom Humidity Level?
In living spaces, healthy relative humidity generally hovers between 40% and 60%. While showering naturally causes moisture levels to spike and mirrors to steam up, persistent dampness is where trouble starts. Problems arise when relative humidity stays elevated for hours, preventing surfaces from drying out between uses.
Research from the Fraunhofer Institute for Building Physics indicates that mold rarely develops below 70% relative humidity, whereas virtually all common household molds flourish at 80% and above. This offers a practical rule of thumb: if your bathroom’s relative humidity remains above 70% an hour after showering, your exhaust system is not clearing moisture fast enough.
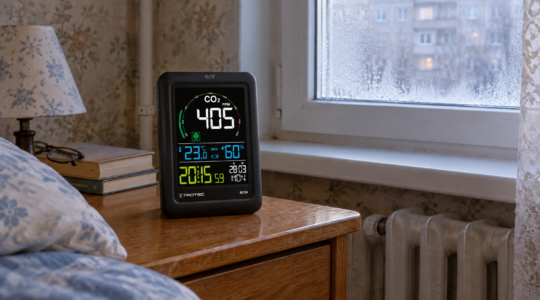
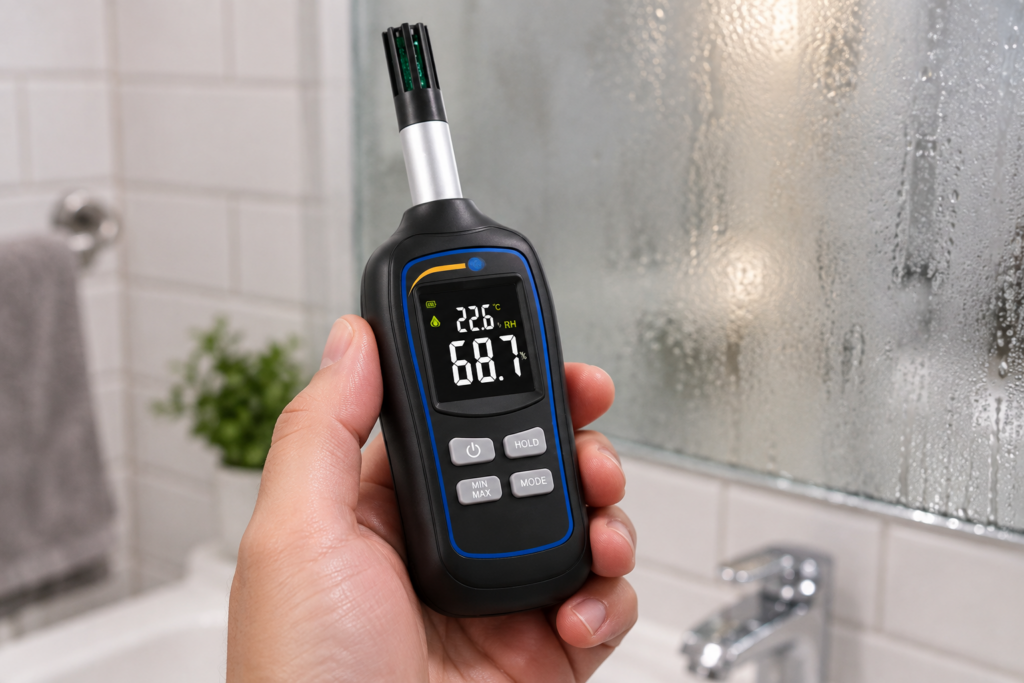
To track your space accurately, use a dedicated hygrometer from our range of temperature and humidity meters. Place or mount the device away from direct water splashes. Check readings before showering, immediately after, and again at 30- and 60-minute marks. Monitoring these intervals reveals how efficiently the room recovers, providing far more insight than a single isolated reading.
The PCE 444 measures both relative humidity and dew point, making it easy to pinpoint surfaces at risk of condensation.

Why Does a Single Shower Create So Much Moisture?
Consider a standard apartment bathroom measuring 2 × 2.5 m with a 2.5 m ceiling—giving an overall volume of 12.5 m³. At 22 °C, a cubic meter of air can hold a maximum of about 19.4 g of water vapor before reaching complete saturation. That means the entire room’s air volume maxes out at roughly 240 g of water vapor.
According to data from the USDA Forest Products Laboratory (USDA FPL), an average five-minute shower generates between 200 and 380 g of water vapor. In other words, a single shower routinely dumps more water into the air than the room can hold. The excess instantly condenses across mirrors, tiles, and grout lines, which must then evaporate back into the air before the exhaust can remove it.
At an extraction rate of 54 m³/h, an exhaust fan cycles the room’s air roughly four times per hour. This explains why switching off the fan the moment you step out leaves the room damp: the bulk of the moisture is still pooled on your walls and floor, waiting to evaporate.
Step 1: Check If Your Exhaust Ventilation Actually Works
Design standards for apartment renovations typically call for a bathroom exhaust rate of 15 l/s, with 10 l/s for separate WCs. In practice, older properties often fall well short: doctoral research at TalTech revealed that ventilation was inadequate in two out of three apartments in unrenovated buildings.
You can run a quick diagnostic test at home: hold a single sheet of toilet paper up to the exhaust grille while the system runs. If the suction does not hold the paper firmly in place, the airflow is insufficient. Common culprits include clogged grilles, blocked ventilation shafts, or a lack of incoming replacement air.
Make-up air is just as vital as the fan itself. If a bathroom door forms an airtight seal with the floor, the fan cannot pull air out because no fresh air can enter to replace it. UK building regulations call for an undercut of at least 10 mm beneath the door, though a 10–20 mm gap or an integrated door transfer grille delivers far more reliable airflow.
If your home shares a vertical ventilation shaft in a multi-family building, consult your building association or a ventilation specialist before upgrading to a high-capacity fan. An oversized or incorrectly specified unit can easily force damp air straight into your neighbors’ apartments.
Step 2: Choose an Exhaust Fan with Automatic Controls
Fans tied directly to the bathroom light switch shut off the second you walk out—right when moisture levels reach their peak. The Home Ventilating Institute (HVI) recommends running the fan for 20 minutes after bathroom use, ideally via an automatic run-on timer.
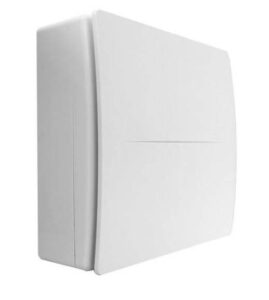
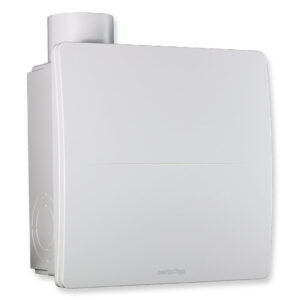
An even more seamless solution is an exhaust fan with a built-in humidistat. These models turn on automatically when moisture crosses a designated threshold and continue running until levels return to baseline. The Aerauliqa QX 100 HT, for example, features an adjustable humidistat (50% to 90% RH) alongside a run-on timer configurable from 3 to 25 minutes. Delivering airflow up to 104 m³/h at a quiet 27–38 dB(A), it also carries an IPX4 splash-proof rating.
When setting your humidistat, avoid dialing it too low. On humid summer days, a 50% setting might keep the fan running indefinitely. Conversely, setting it above 80% leaves surfaces damp for too long. A setpoint of 60% to 65% is generally the sweet spot, which you can fine-tune using your hygrometer readings.

The QX 100 HT provides dependable humidity-driven extraction and maintains strong static pressure over longer duct runs. For small to medium bathrooms where whisper-quiet operation is paramount, consider the Aerauliqa QXD. Browse our full selection in the exhaust fans category. Remember that mains electrical work should always be handled by a qualified electrician.
Step 3: Remove Standing Water Before It Evaporates
Any water left sitting on tiles, glass, or towels will inevitably evaporate back into the air. The more water you clear manually, the less burden you place on your ventilation system.
- Squeegee shower walls and screens immediately after washing. This takes less than a minute and clears the vast majority of surface water from tiles and grout.
- Turn the exhaust fan on before stepping into the shower, rather than waiting until you finish.
- Spread damp towels across wide rails instead of bunching them on hooks.
- Never dry laundry in the bathroom. The National Research Council of Canada found that while an average four-person home releases 7 to 12 liters of moisture daily, that figure surges past 23 liters on laundry days.
- Drain bathwater as soon as you finish, since warm, standing water continuously releases steam into the room.
Step 4: Keep Surfaces Warm
Condensation forms whenever warm, moisture-laden air hits a surface at or below the dew point. For example, air at 20 °C and 80% relative humidity has a dew point of 17 °C; any surface cooler than that will collect moisture instantly.
In bathrooms, these cold spots typically appear along exterior corners, window reveals, ceiling perimeters, and uninsulated outer walls. Mold almost always takes hold here first, as localized relative humidity spikes against chilled surfaces.
Guidance from the UK’s Property Care Association (PCA) emphasizes that consistent, low-level background heating prevents condensation far more effectively than short blasts of high heat. If your bathroom has underfloor heating or a heated towel rail, run it at a steady, moderate setting. Keep in mind that heating alone will not eliminate moisture—it simply keeps it suspended in the air until your exhaust ventilation carries it outside.
Step 5: Use a Dehumidifier When Ventilation Isn’t Enough
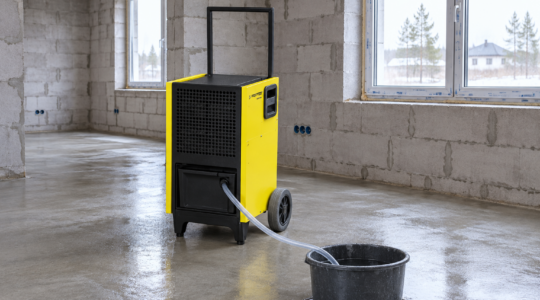
A dehumidifier is an ideal backup in three key scenarios: windowless bathrooms where ducting cannot be upgraded easily, adjacent utility areas used for drying clothes, or spaces recovering from leaks and renovations where building fabric needs thorough drying.
Electrical safety is critical. Under the international standard IEC 60364-7-701, Zone 1 extends up to 2.25 m above the finished floor and within a 1.20 m radius around the shower head. Within safety Zones 0 through 2, only specifically rated, hardwired equipment with at least IPX4 water protection is permitted. Standard portable dehumidifiers do not qualify, and most manufacturers strictly warn against using them close to showers or baths. Position portable units in an adjoining hallway or laundry area with the bathroom door open, or keep them well outside designated wet zones if allowed by the user manual.
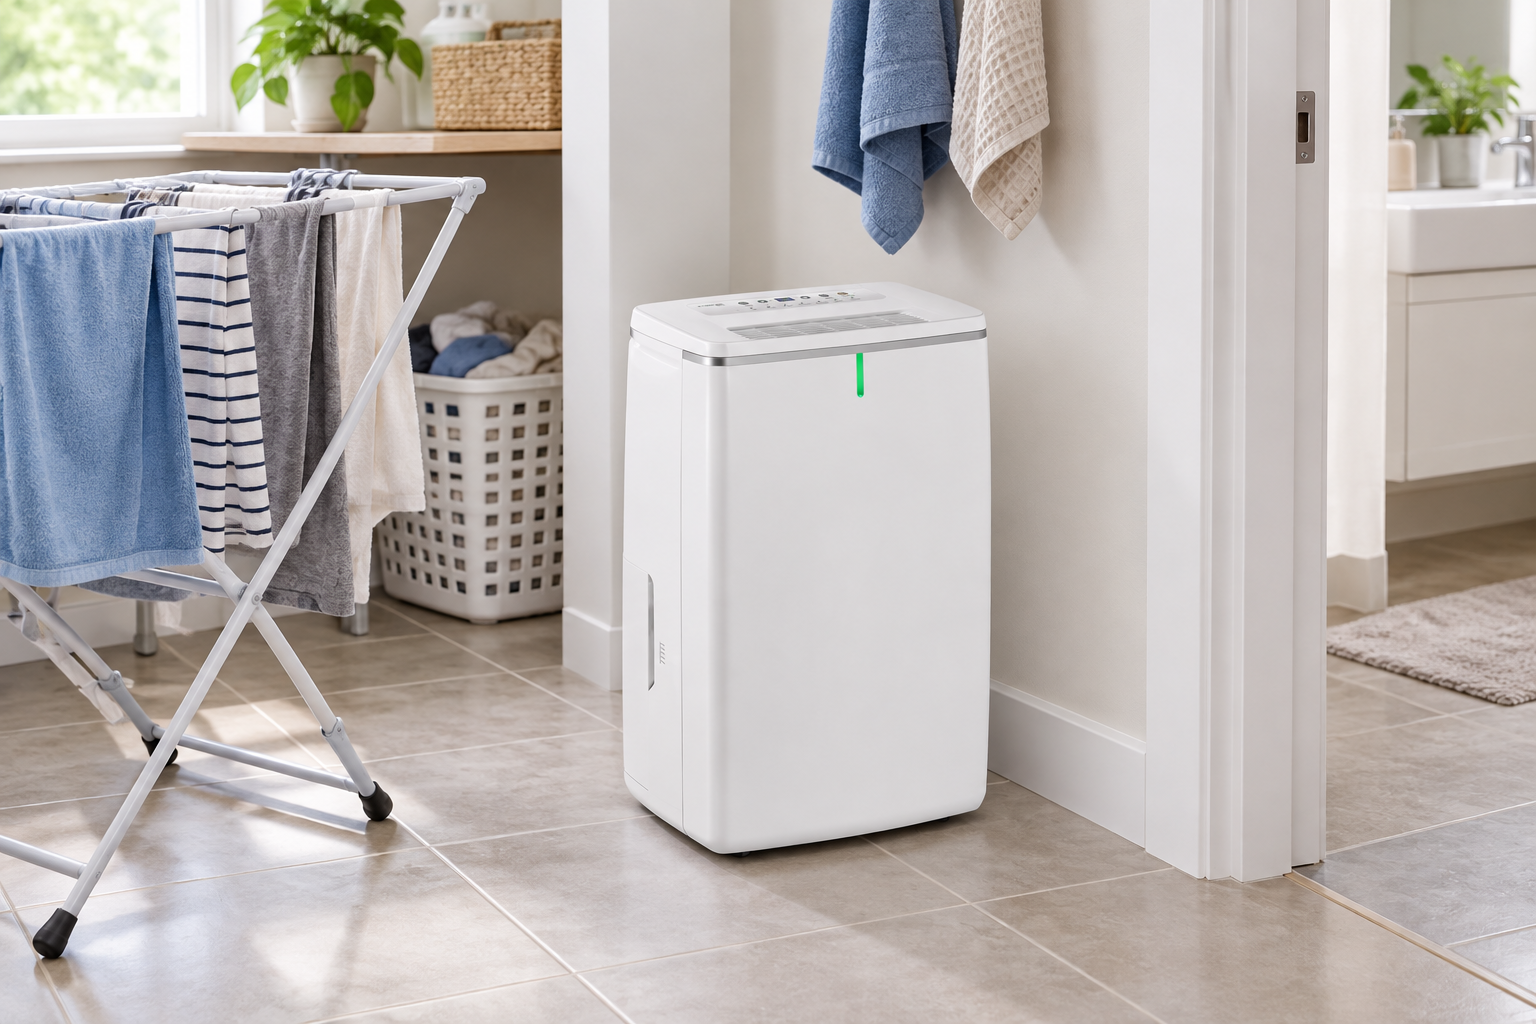
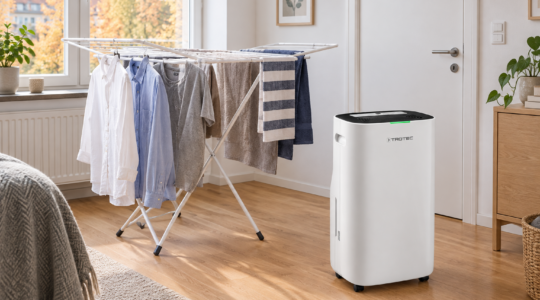
For a permanent setup, consider a wall-mounted dehumidifier hardwired by an electrician and plumbed directly to a drain. For temporary or adjoining-room use, a portable unit is often sufficient. The Trotec TTK 53 E, for instance, extracts up to 16 liters of moisture per day, serves heated rooms up to 31 m², and features an adjustable humidistat covering 30% to 80% RH. It performs exceptionally well in an adjacent corridor or utility space, though it should never sit right beside a shower enclosure. Explore comparable units in our dehumidifiers range.

Common Mistakes That Bring Moisture Back
- Wiping mold with bleach without fixing the humidity. Bleach may temporarily lighten stained grout, but spores will return within days if the room remains damp.
- Covering or taping off the exhaust grille. Homeowners sometimes seal vents in winter to stop drafts, but this traps moisture indoors and accelerates mold growth.
- Neglecting fan maintenance. Dust, lint, and aerosol residues coat fan blades and grilles over time, significantly choking airflow. Wipe down your vent grille every few months.
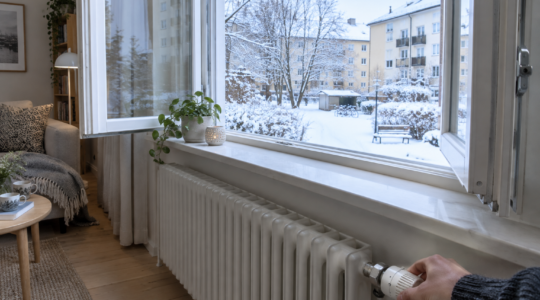
- Leaving windows cracked open in cold weather. Continuous winter drafts chill window reveals and plaster below the dew point, creating prime real estate for condensation.
When to Call a Professional
If mold returns within weeks of cleaning, grout crumbles easily, dark water stains emerge behind tiles, or humidity stays stubbornly high long after showering, the root cause may run deeper than airflow. You could be facing compromised waterproofing or concealed pipe leaks. In these cases, a pinless moisture meter survey or a comprehensive building inspection is warranted.
Pro Air offers thorough indoor air quality assessments: we test temperature, relative humidity, and CO₂ levels, evaluate ventilation airflow, and deliver practical, data-backed remediation steps. When cleaning surface mold, always wear protective gloves and an appropriate respirator mask, and keep the area well-ventilated. Severe, widespread structural contamination should always be handled by certified remediation professionals.
Ventilation Makes the Biggest Difference
Tackling bathroom humidity comes down to three core factors: ensuring your exhaust fan extracts sufficient air, providing an adequate supply of make-up air, and allowing the fan to run until the moisture has cleared. Keep tabs on baseline levels with an accurate hygrometer, wipe down wet surfaces quickly, and maintain steady background heat. Use dehumidifiers as a targeted supplement, but never as an excuse to overlook proper mechanical ventilation.
Frequently Asked Questions
If you have an active exhaust fan and a sufficient gap beneath the door, keep the door closed. The fan will pull fresh replacement air under the door while keeping warm, humid air from drifting into adjacent living areas. If your bathroom lacks mechanical ventilation entirely, leave the door open to let moisture disperse.
No. While a quick burst of cross-ventilation helps exchange air, leaving a window cracked in winter cools wall surfaces below the dew point, worsening condensation. A mechanical exhaust fan operates independently of outdoor weather, reliably expelling damp air year-round.
The Home Ventilating Institute (HVI) recommends running the fan for at least 20 minutes, while US Department of Energy guidelines suggest up to an hour. A fan fitted with a humidistat takes the guesswork out entirely by running until moisture levels return to your desired threshold.