

Concrete drying cannot begin until the curing process is complete. In the critical first few days after a pour, fresh concrete must be kept moist to prevent plastic shrinkage cracking. Only after curing should you seal the building envelope, bring the indoor temperature to at least +20 °C, lower the relative humidity (RH) below 50%, and set up active air circulation across the slab.
In cold weather, heating combined with controlled ventilation is typically the most effective drying strategy; in warm, humid months, commercial dehumidifiers are essential. Never rely on the project calendar to determine when it is safe to lay flooring. Always verify dryness through moisture testing: for most vapor-tight floor coverings, relative humidity within the concrete must not exceed 85% at the required test depth.
- Days 1–14: Curing phase. Keep the slab damp or sealed under plastic sheeting; protect it from direct sunlight, drafts, and direct heat.
- Drying phase: Maintain indoor conditions at +20 °C to +25 °C and under 50% RH using air movers alongside a dehumidifier.
- Timeline: Thin screeds dry at roughly 1 cm per week, but a standard 100 mm (4 in) slab requires several months.
- Before covering: Test internal relative humidity using the in-situ borehole probe method to ensure compliance with the flooring manufacturer’s specifications.
Curing Always Comes Before Drying
Fresh concrete relies on water to hydrate cement particles and develop structural strength. If moisture evaporates from the surface faster than bleed water rises to replenish it, plastic shrinkage cracks will form. To protect the slab, cover the surface with plastic sheeting or apply continuous curing methods the moment the initial surface sheen disappears.
Concrete manufacturer Rudus recommends curing floor slabs for at least 14 days, keeping the concrete shielded from excessive heat, direct sun, and drafts. This protection is especially vital if temporary heaters are running or if ambient relative humidity drops below 50%. Thorough curing does not penalize your construction schedule later: laboratory testing demonstrates that slabs cured for 3 days and those cured for 7 days release internal moisture at virtually identical rates once the drying phase begins.
How Long Does Concrete Take to Dry?
A familiar rule of thumb states that concrete dries at 1 cm per week, but this estimate holds true only for relatively thin, unsealed screeds. Power troweling burnishes the surface and tightens the capillary network, which cuts drying speed roughly in half—to about 1 cm every two weeks. On an international level, contractors frequently budget “one month per 25 mm (1 inch) of slab thickness.”
Furthermore, drying time increases non-linearly with depth: a 150 mm slab takes approximately twice as long to dry as a 100 mm slab, while a 200 mm pour can take three times as long.
The water-cement (w/c) ratio—the mass of water relative to cement in the mix—also dictates the drying timeline. Higher water volumes leave behind more free water that must eventually leave the slab through evaporation. Under favorable drying conditions, estimated timelines include:
| w/c Ratio | Days to 90% RH | Days to 85% RH |
|---|---|---|
| 0.4 | 20 | 50 |
| 0.5 | 45 | 90 |
| 0.6 | 65 | 135 |
| 0.7 | 95 | 180 |
In Northern Europe, typical floor slabs are placed with a w/c ratio between 0.6 and 0.7. When working under aggressive deadlines, specify a mix with a reduced w/c ratio or order a designated fast-drying concrete formulation from your ready-mix supplier.
Example: A 100 mm Slab on Insulation
Consider a standard 100 mm residential floor slab poured directly over EPS insulation. Because the insulation blocks downward vapor migration, the concrete can dry only from its top surface.
While the “1 cm per week” rule suggests the slab might dry in 10 weeks, the “one month per 25 mm” guideline puts the timeline closer to 4 months. With a standard 0.6 w/c mix under good drying conditions, reaching the typical 85% RH installation threshold takes around 135 days—roughly 4.5 months. If poured in early April, the slab will rarely be ready for hardwood or parquet flooring before August. Compliance must be confirmed by testing moisture at a depth of 40 mm.
Optimal Conditions: Heat, Dry Air, and Airflow
According to Finnish building research, concrete floors dry most efficiently when indoor air temperature is at least +20 °C and relative humidity remains below 50%. Moisture migrates out of concrete only when the surrounding air has a lower vapor pressure than the air inside the slab’s pore structure. Once the surrounding air reaches saturation, evaporation stops completely. This is why concrete does not dry reliably during warm, humid summers—stagnant air saturated with moisture cannot carry away additional water vapor.
In winter, outdoor air contains very little absolute moisture despite elevated relative humidity. When brought indoors and heated, this air’s relative humidity drops sharply, turning it into an effective drying medium. Swedish studies confirm that mechanical dehumidifiers deliver the highest impact during transition months like March and April, whereas standard heating and controlled ventilation are frequently adequate through October and November.
Be careful not to overheat the space. Finnish construction practices advise keeping drying temperatures below +40 °C to prevent thermal stress and surface craze cracking. Never run radiant underfloor heating on fresh concrete; industry guidelines recommend letting the slab cure and dry naturally for roughly four weeks before slowly commissioning radiant systems. Set up air movers to blow horizontally across the floor, breaking up the stagnant boundary layer of moisture resting directly over the slab.
Tailor your drying strategy to current site conditions:
- Below +8 °C (unheated): Deploy desiccant dehumidifiers.
- Between +8 °C and +15 °C: Run refrigerant dehumidifiers equipped with hot-gas defrost alongside supplemental space heating. Standard refrigerant models lose moisture extraction capacity rapidly at lower temperatures.
- Above +15 °C (humid outdoor air): Close all doors and windows, and run commercial refrigerant dehumidifiers.
- Cold, dry winter conditions (heating system active): Use space heating and controlled air exchange; supplement with dehumidifiers if indoor RH climbs over 50%.
Refrigerant vs. Desiccant Dehumidifiers
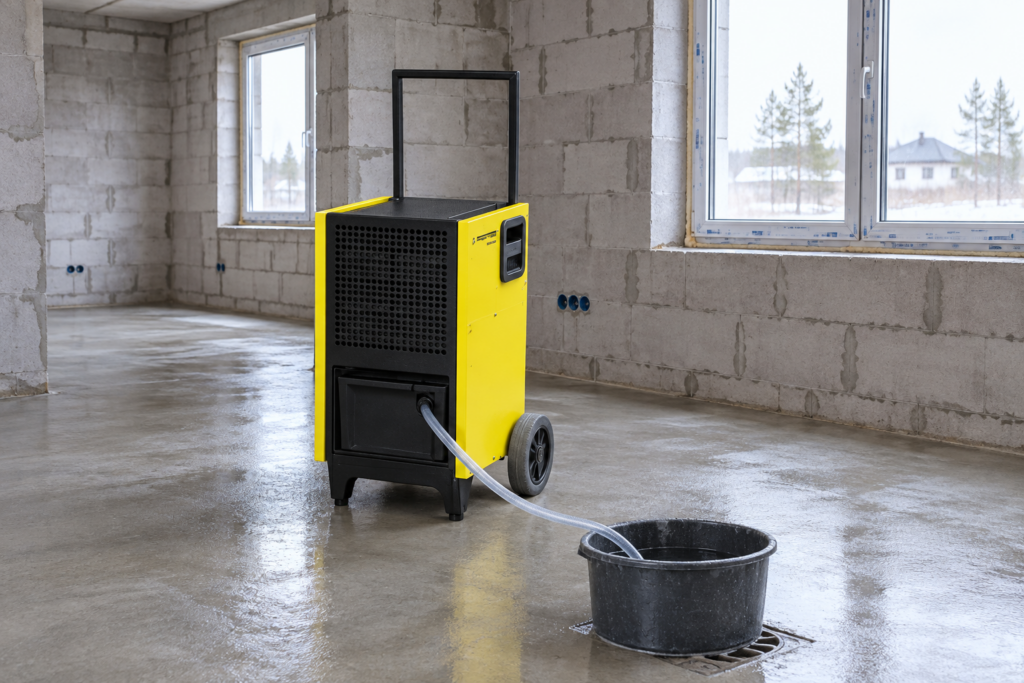
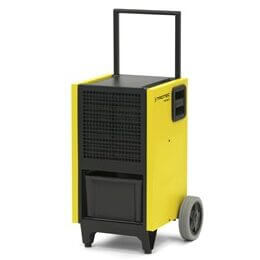
Refrigerant (condensation) dehumidifiers chill incoming air below its dew point, causing water vapor to condense into an internal tank or drain line. Their performance varies significantly with ambient temperature and humidity. For instance, the Trotec TTK 355 S removes 27 liters per day at 20 °C and 60% RH, increases to 55 liters per day at 30 °C and 80% RH, and is rated for a theoretical maximum of 70 liters per day. Rated for operation between +5 °C and +32 °C, it handles construction drying for areas up to roughly 180 m². Never size equipment based solely on peak extraction numbers.
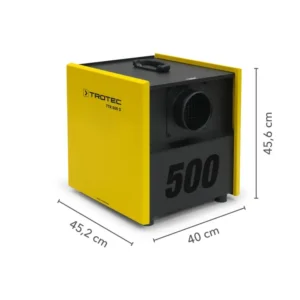
In unheated winter environments where the average temperature remains below 8 °C, Trotec recommends desiccant dehumidifiers. Desiccant dehumidifiers capture water molecules on a rotating desiccant wheel, operating reliably from −20 °C to +40 °C and expelling warm, moisture-laden regeneration air outside through ducting. However, capital costs are higher: a commercial desiccant unit like the TTR 500 D costs nearly €4,000, compared to less than €2,000 for a TTK 355 S. In heated buildings, refrigerant units remain significantly more energy-efficient.
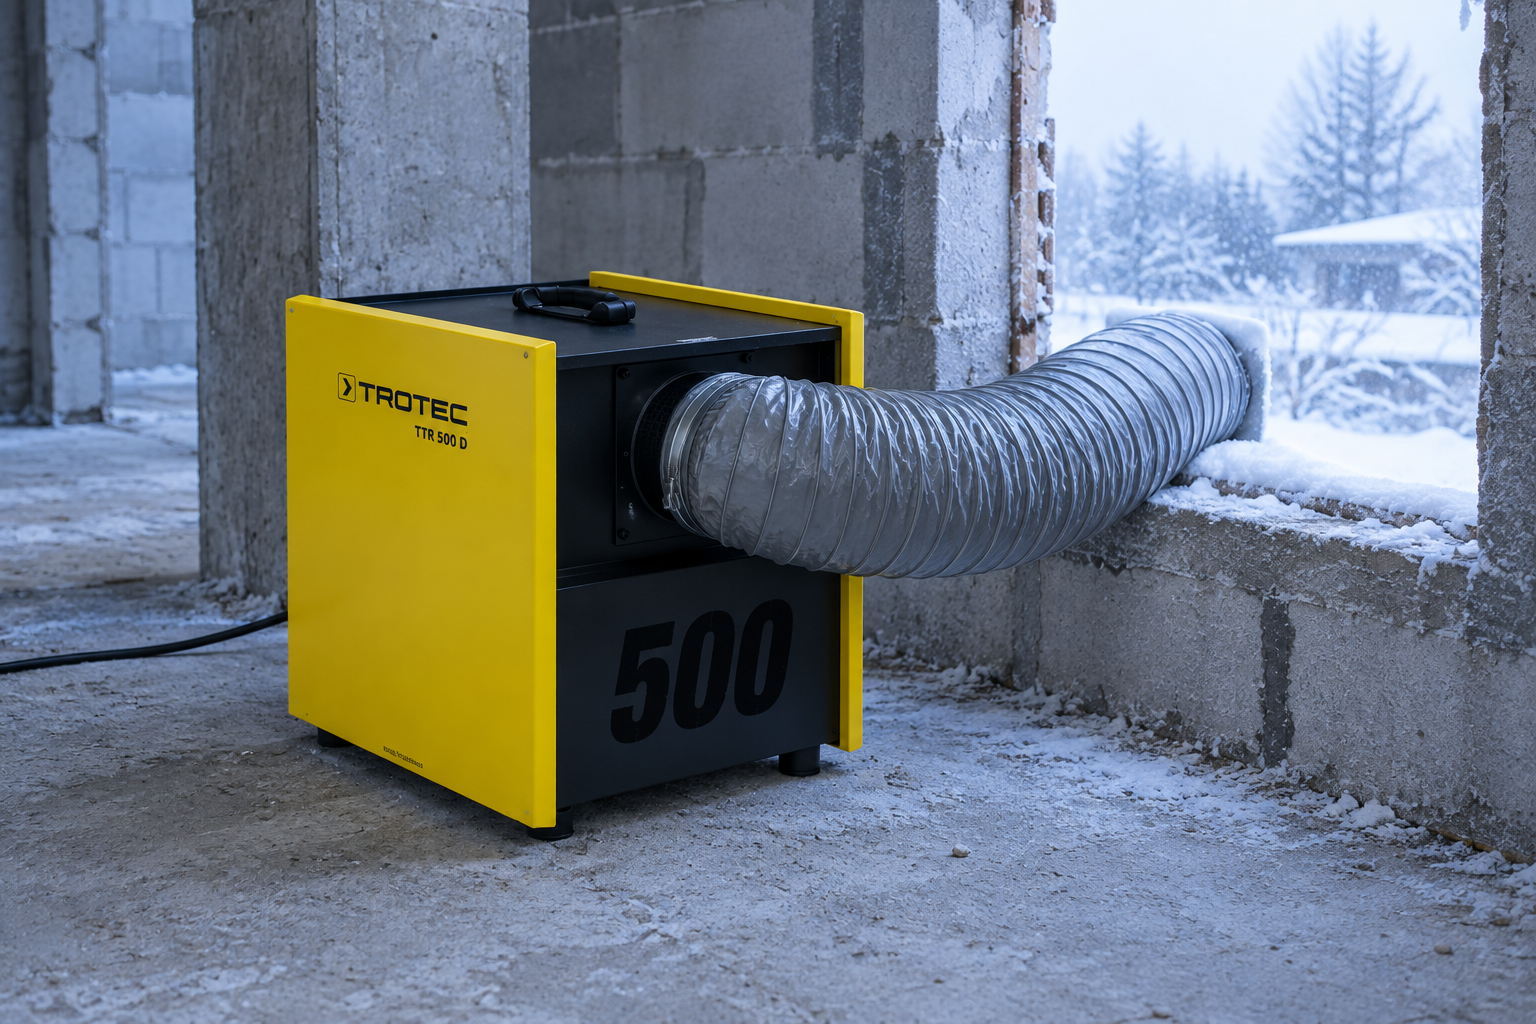
For short-term projects, renting a commercial dehumidifier is usually far more practical than purchasing. Renting also gives you the flexibility to select the right drying technology for the season and site conditions.
How to Measure Concrete Moisture Accurately
In Estonia, the Ministry of Climate references standard RT 103333-et. Unless the flooring manufacturer explicitly states otherwise, the standard requirement for vapor-tight flooring materials is a maximum concrete relative humidity of 85% RH at measurement depth A. The in-situ borehole probe method requires the following procedure:
- Keep the room temperature stable between +18 °C and +25 °C throughout testing.
- Drill a 16 mm diameter test hole to depth A: 0.4 × slab thickness for slabs drying from one side only, or 0.2 × thickness for suspended slabs drying from both sides.
- Clean the hole, insert a plastic measuring sleeve, seal it air-tight, and allow the internal environment to equilibrate for at least 72 hours.
- Insert the relative humidity sensor probe, allow 1 to 4 hours for temperature and RH readings to stabilize, and record the value.
- Mark and log all test locations and readings directly on the architectural floor plan.
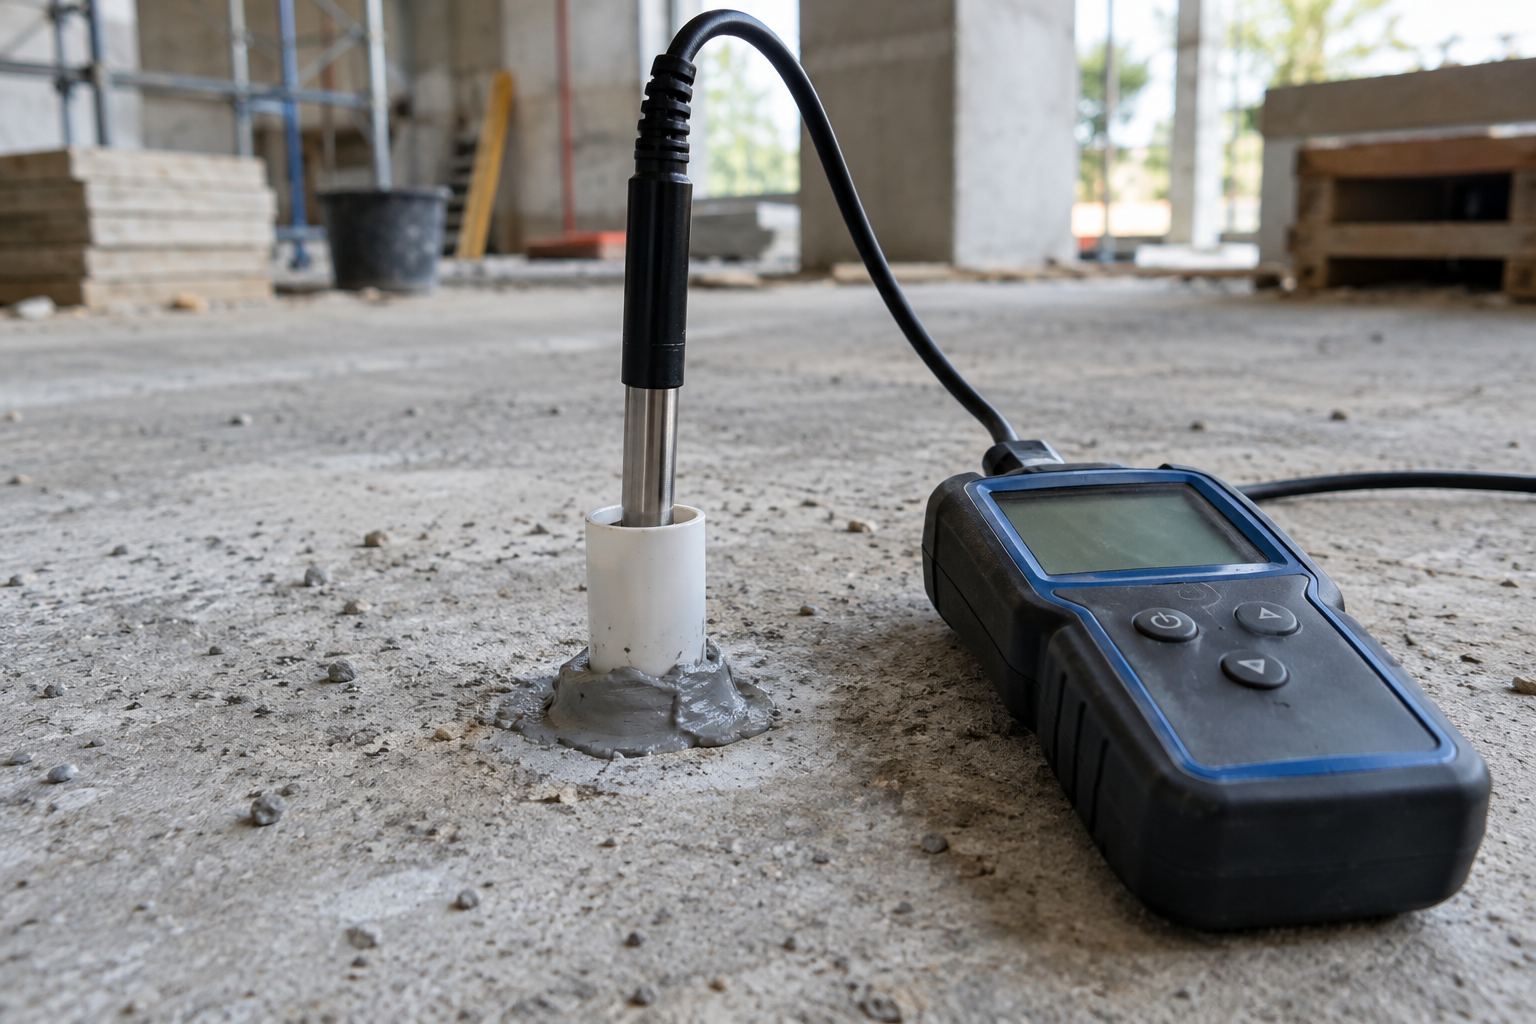
Test at two depths at each monitoring location—depth A and a shallower depth near the surface. This verifies that a normal moisture gradient exists and the slab is drying properly from the top down. Always factor in equipment tolerances: if your probe has an accuracy rating of ±2% RH and your flooring threshold is 90%, do not approve installation until the meter reads 88% or lower.
Regional quality guidelines establish clear benchmarks across material types:
| Flooring Type | Maximum Concrete RH at Depth A |
|---|---|
| Sheet vinyl (PVC), linoleum, rubber sheet | 85% |
| Parquet and laminate | 85% |
| Vinyl, rubber, and linoleum tiles | 90% |
| Epoxy floor coatings | 97% |
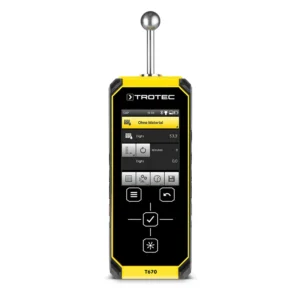
Non-destructive pinless meters evaluate only the top surface layer and are easily skewed by aggregate types and underlying rebar. Use non-invasive meters for mapping relative dampness and finding wet spots across large areas, but always rely on drilled borehole probes for final sign-off. For cementitious screeds, the calcium carbide method (CM) remains a trusted alternative, requiring moisture content below 2.0 CM-% on standard slabs and 1.8 CM-% over radiant floor heating.
Common Mistakes and How to Avoid Them
- Blasting fresh concrete with space heaters: High, direct heat forces surface water to evaporate before the cement can properly hydrate, leaving a weak, dusting surface layer riddled with craze cracks. Complete the curing cycle first, and direct heat into the general room volume rather than down onto the slab.
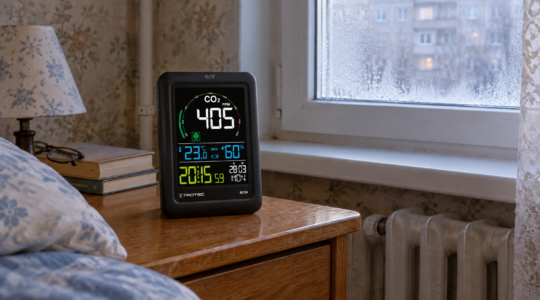
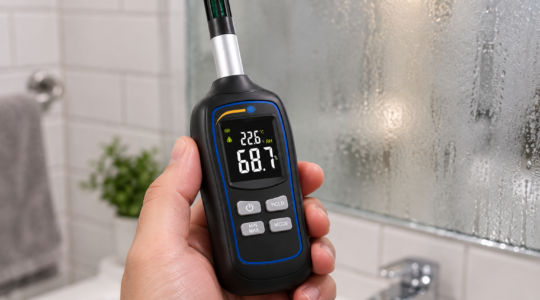
- Heating without moisture extraction: Warming a sealed room without active ventilation or dehumidification saturates the air. Moisture will condense on cold exterior walls and windows, stalling the drying process. Track ambient conditions with a thermo-hygrometer to maintain indoor RH below 50%.
- Assuming foot-dry concrete is ready for flooring: A power-troweled floor can support walking traffic after 24 hours, but the core remains wet. Installing vapor-impermeable flooring prematurely leads to adhesive emulsification, cupping, buckling, foul odors, and mold growth.
- Testing while radiant heating is running: Shut off radiant floor heating at least 24 hours before conducting borehole tests, and ensure test holes are drilled safely between heating loops. After logging your final readings, bring the heating system back online slowly, increasing temperatures in small increments.
When Standard Guidelines Do Not Apply
Suspended slabs exposed to air on both top and bottom dry much faster than grade-level slabs cast over insulation, and their testing depth is shallower (0.2 × thickness). Conversely, calcium sulfate (anhydrite) screeds demand much stricter limits than cementitious mixes—typically 0.5 CM-% without underfloor heating and 0.3 CM-% with heating. Always check the screed manufacturer’s technical data sheet.
Low-w/c mixes (under 0.40) consume significant amounts of free water internally through self-desiccation. However, if fresh concrete freezes below −15 °C before hydrating, chemical strength development halts and overall drying times can double. Any pour conducted below +5 °C must follow cold-weather concreting protocols specified by the structural engineer or ready-mix supplier. When flooring warranties require certified documentation, always hire a certified moisture-testing technician to verify your slab.
Successful concrete drying requires warm, dry air and continuous circulation—introduced only after proper curing is complete. Budget several months for drying in your construction schedule, match dehumidification equipment to current site temperatures, and clear the slab for flooring installation only after verified borehole testing shows moisture levels meet manufacturer tolerances.
Frequently Asked Questions
Yes, but only after the curing period is finished, and always in conjunction with mechanical dehumidification or controlled ventilation. Adding heat without removing moisture simply saturates the indoor air, which causes condensation on cold structural surfaces and brings drying to a halt.
Not necessarily. Summer air is frequently warm and humid, meaning it has little capacity to absorb additional water vapor from the concrete. To dry slabs during humid summer weather, seal the building and run commercial refrigerant dehumidifiers to pull relative humidity below 50%.
Parquet and laminate can be installed once the relative humidity at depth A drops to 85% RH or complies with the flooring manufacturer’s documented threshold. When installing floating laminate floors, always include an approved vapor barrier underlayment.