

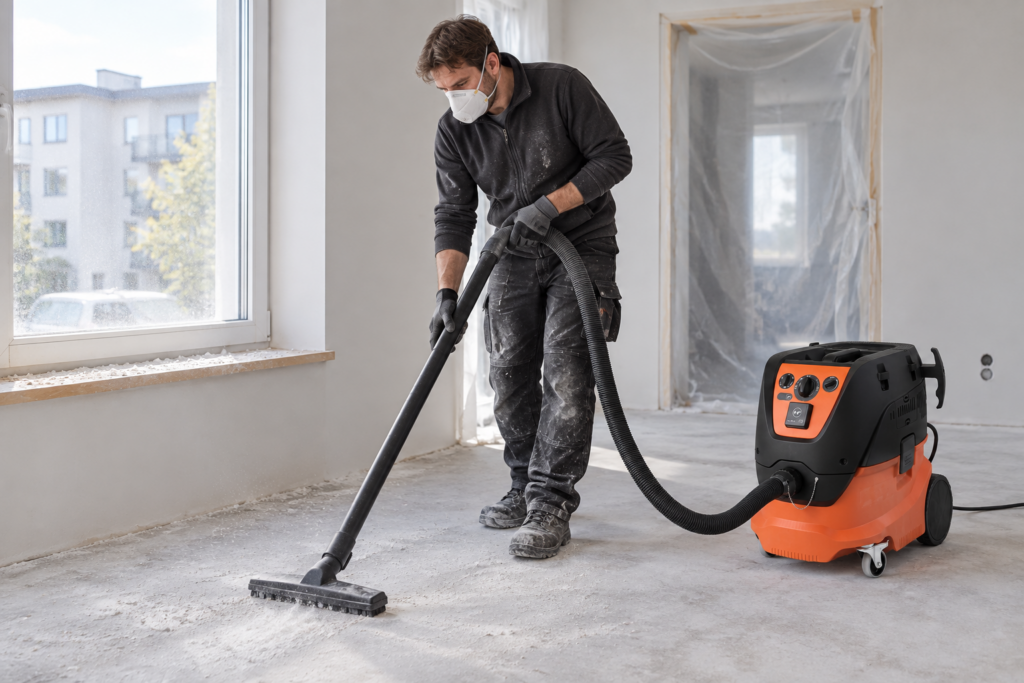
Clearing out construction dust successfully comes down to three basic principles: let the dust settle before you touch it, vacuum it dry using a certified Class M extractor rather than a broom or domestic vacuum, and wipe down surfaces from top to bottom only after every trace of loose debris has been vacuumed away. Reach for a wet cloth too early, and fine drywall dust instantly turns into a milky slurry that streaks paint and sets like mortar in every corner and crevice.
A thorough post-renovation cleanup almost always requires two or three passes. The first pass strips away the bulk debris, the second captures fine particles as they settle overnight, and the third wipes out any lingering haze. Below, you will find the right vacuum class for each type of dust, the proper sequence to follow, and the common pitfalls that will send you right back to square one.
Construction Dust Removal at a Glance
- Shut off the ventilation and seal intake and extract vents with plastic before any sanding begins.
- Let airborne dust settle overnight so you can clean standing surfaces effectively in the morning.
- Dry-vacuum all surfaces with a Class M vacuum, working from the ceiling and walls down to window sills and floors.
- Wipe down surfaces with a damp microfiber cloth, swapping out the rinse water before it clouds over.
- Wash the floors last, ideally with a walk-behind or compact floor scrubber on larger areas.
- Replace your HVAC/ventilation filters and make a final cleaning pass a couple of days later to catch rogue particles.
Why Construction Dust Differs from Household Dust
Everyday household dust is made up of relatively large, coarse fibers and skin cells. Sanding joint compound, coring concrete, or cutting ceramic tile, on the other hand, generates microscopic particles that hover in the air for hours before settling. The UK Health and Safety Executive (HSE) notes that dry sweeping releases massive amounts of dust back into the air, which is why brooms should stay off your site.
Then there is the health hazard. Concrete, mortar, stone, and tile contain crystalline silica. When inhaled, respirable crystalline silica (RCS) embeds deep in lung tissue, leading to silicosis, chronic obstructive pulmonary disease (COPD), and lung cancer. Under EU directives, the occupational exposure limit for respirable crystalline silica is 0.1 mg/m³, while hardwood dust is capped at 2 mg/m³. While workplace regulations apply strictly to employers, these tiny thresholds demonstrate just how hazardous a light cloud of masonry dust really is.
Finally, fine dust destroys standard cleaning equipment. Gypsum and silica particles instantly choke household filters, starving the motor of cooling air. Trotec, for example, explicitly warns in its user manuals that domestic handheld vacs are not built to ingest masonry dust, plaster, or cement. Put a household vacuum to work on a building site, and it will either burn out its motor or blast ultra-fine dust right through the exhaust and straight back into the room.
Which Vacuum Cleaner Is Right for Construction Dust?
Under standard EN 60335-2-69, industrial vacuums and dust extractors are grouped into three primary classes: L, M, and H. These ratings determine the maximum level of dust permeability permitted through the filtration system. According to the German Institute for Occupational Safety and Health (IFA), the maximum permeability is under 1% for Class L, under 0.1% for Class M, and under 0.005% for Class H.
| Dust class | Filter permeability | Suitable dust types |
|---|---|---|
| L | Under 1% | Simple household dirt, lime, soil, quartz-free plaster |
| M | Under 0.1% | Concrete, cement, tile adhesive, joint filler/plaster, wood dust, paint |
| H | Under 0.005% | Asbestos, mold spores, lead, carcinogenic and pathogenic dust |
As a practical rule: if your project involves drilling masonry, cutting tiles, or sanding joint compound, you need at least a Class M vacuum. A Class L unit is only suitable if you are working exclusively with quartz-free plaster or lime. Joint fillers, tile adhesives, and screeds are universally rated as Class M hazards.
Certified Class M and H extractors include two essential mechanical features. First, an integrated airflow sensor monitors suction velocity in the hose; if the speed drops below 20 m/s—meaning the filter or hose is choking—an audible or visual alarm triggers. Second, they feature an automated or pulse filter-cleaning mechanism that dislodges cake buildup while the motor runs. Without this reverse-pulse or mechanical shaker, suction will collapse within minutes of vacuuming drywall dust.
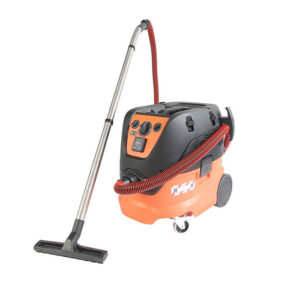
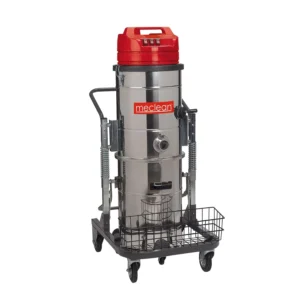
If you are sourcing long-term equipment for upcoming jobs, browse our selection of professional vacuum cleaners. The Heylo VC M 30 is a dedicated Class M wet/dry vacuum equipped with fully automated filter cleaning. For hazardous remediation, the Heylo VC H 30 provides the same rugged chassis backed by certified Class H filtration suitable for asbestos removal. For tight quarters and overhead spot work, the shoulder-slung RONDA Mini-Vac provides certified Class H performance in a compact footprint. For ultimate versatility, the MeClean CRAFTER 1500 can be configured with Class L, M, or H filters based on the task at hand.
Minimizing Dust During Work
The easiest dust to clean is the dust you never let escape. Planning your dust control measures before firing up the first saw or sander saves hours of deep cleaning later.
Isolate the renovation zone from the rest of the property using heavy-duty poly sheeting and tape. Hang a zippered dust door over doorways so workers can pass through without breaching the containment seal. Tape off electrical switchplates, floor vents, and supply registers, and drop drop-cloths over high-traffic transit paths.
On-tool dust extraction is your most powerful ally. Professional Class M extractors, like the Biemmedue MRC series, include an onboard power socket with an auto-start feature. Plug your sander, saw, or drill directly into the vacuum; when you pull the tool trigger, the vacuum engages simultaneously, capturing dust directly at the blade or sanding pad before it goes airborne.
Keep the containment doors closed, and avoid tracking debris through clean zones. A tacky mat or damp towel laid right outside the zipper barrier will trap clinging dust from boot treads before it spreads.
The Correct Sequence: Top to Bottom, Dry to Wet
When dust seems to magically reappear an hour after you finish cleaning, it is almost always due to working in the wrong order. If you wet-mop the floor before wiping down walls, headers, and window sills, falling airborne particles will instantly settle into the damp surface, drying into a patchy film.
Preparation and Settling
Wrap up dust-heavy tasks late in the afternoon and close the room up overnight. Microscopic dust requires several hours of completely still air to drop out of suspension. By morning, the bulk of the particulate will be resting on horizontal surfaces rather than floating around your face. Keep windows shut and ventilation units turned off during this phase so air currents don’t keep particles aloft or pull them into the ducts.
Always wear proper respiratory protection while tackling cleanup. Per the EN 149 standard, an FFP2 respirator captures at least 94% of airborne particles, while an FFP3 mask filters 99%. When sweeping up concrete, tile, or silica-rich sanding dust, always upgrade to an FFP3 mask.
The Dry Phase
Start at the highest point: ceilings, cornices, and upper walls. Fit your vacuum wand with a soft horsehair brush attachment to avoid scuffing freshly painted or skimmed surfaces. Work downward over door casings, window reveals, sills, panel radiators, and baseboards, finally finishing on the subfloor.
Do not overlook recessed spots: vacuum inside radiator convectors, along window gaskets, and behind electrical outlet covers. If your extractor’s airflow warning sounds, stop and run a filter pulse cycle immediately instead of pushing through with reduced suction.
The Wet Phase
Only when surfaces are completely free of dry dust should you bring in water. Wipe everything down using a damp—never soaking—microfiber cloth. Work with a two-bucket system: one bucket carrying your cleaning solution and the second dedicated to rinsing out the dirty cloth. Dump and refresh your rinse water the moment it turns cloudy; spreading chalky, plaster-tinted water will only leave a persistent white haze once the surface dries.
If cementitious tile grout or adhesive has left behind a cloudy residue on your tiles, water alone will not cut it—you will need a dedicated acidic cleaner. Before applying any acid, verify that the tile and grout are acid-resistant; natural stone, slate, polished limestone, and marble will instantly etch upon contact. Always run a spot test in a hidden corner, mask off exposed chrome and glass, and wear chemical-resistant gloves and eye protection.
Large Areas: Floor Scrubbers Save Hours
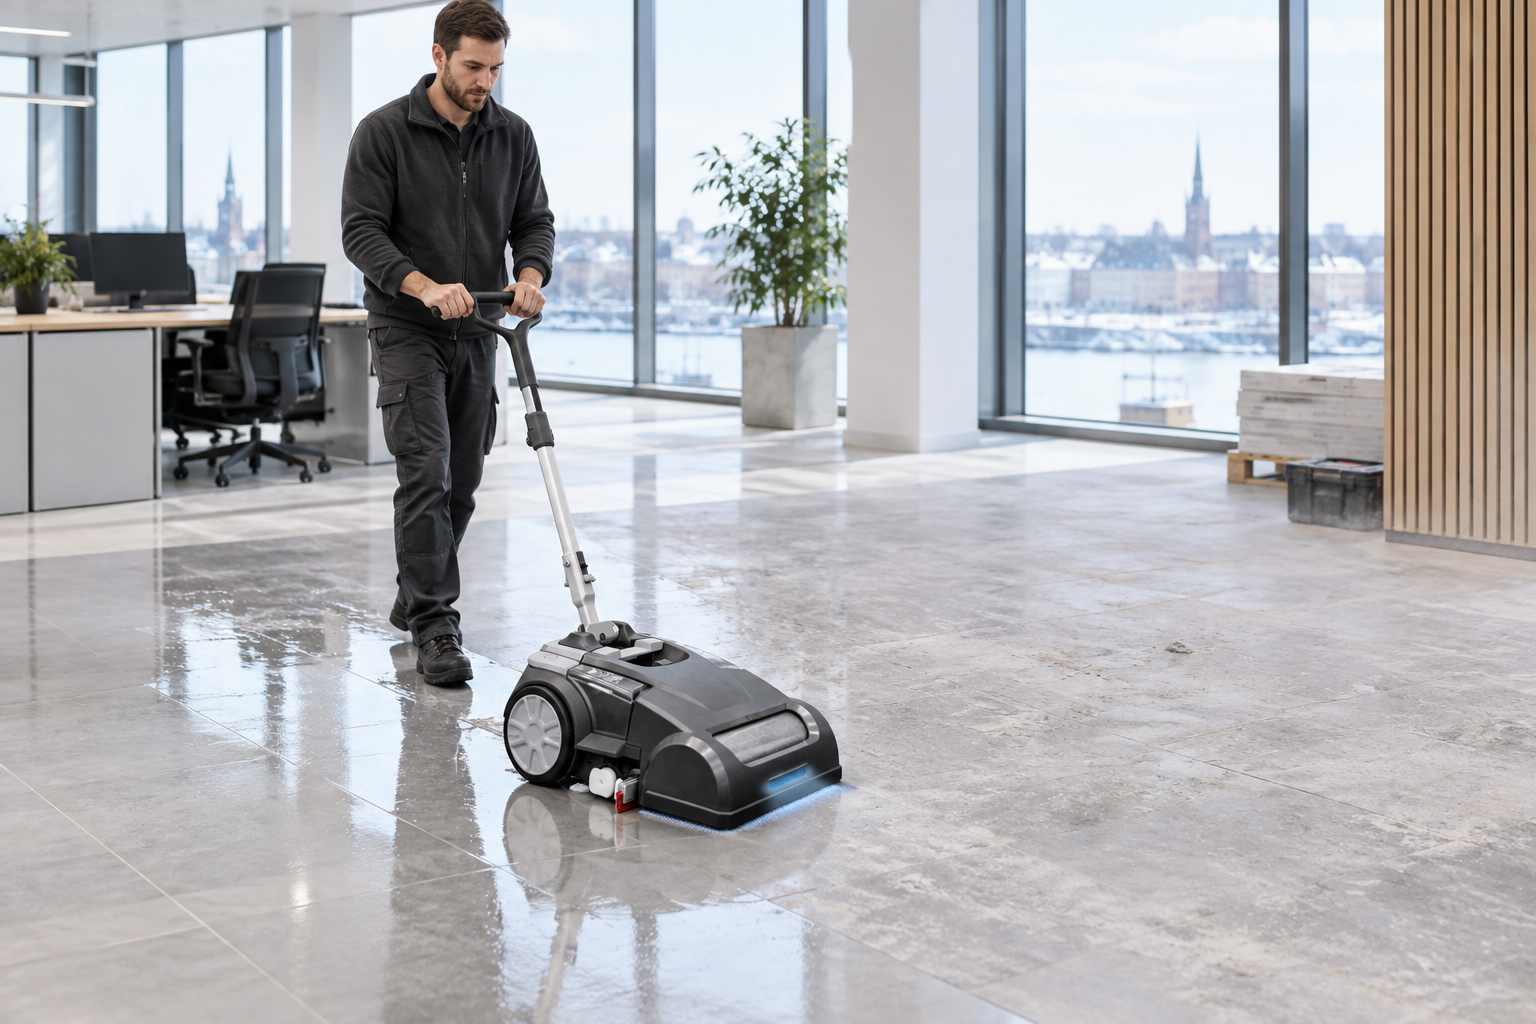
Tackling large commercial spaces or entire residential floors with a mop and bucket is an exercise in frustration. The water turns into a gray slurry after just a few passes, simply redepositing dissolved gypsum across the room. A walk-behind floor scrubber solves this by dispensing fresh water and detergent, agitating the floor with mechanical brushes, and instantly squeegeeing the dirty wastewater into an isolated recovery tank.
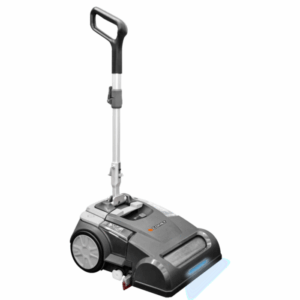
For residential cleanups and tight commercial footprints, a compact battery scrubber like the Comet CPS 35 BX Li moves effortlessly around doorways and tight corners. Just remember that preparation is non-negotiable: the entire floor must be meticulously dry-vacuumed first, as large chips and drywall screws will tear squeegee blades and plug the suction channel. You can view additional options in our floor scrubber category.
Example Timeline: A 65 m² Apartment After Drywall Sanding
Here is how a typical cleanup plays out in a two-bedroom, 65 m² apartment where partitions have been skim-coated and sanded down to bare screed and tiled zones:
- Thursday evening: Finish the final sanding pass. Power down mechanical ventilation, cap all supply and return grilles, seal interior doors, and vacate the space.
- Friday morning: Vacuum ceilings, walls, trim, ledges, and subfloors with a Class M extractor. Clean the filter and dump the canister periodically.
- Friday afternoon: Damp-wipe trims, reveals, sills, and vertical surfaces using clean microfiber cloths, followed by an initial two-bucket mopping of hard floors.
- Saturday: Return to inspect the space. Airborne micro-particles that settled over the past 24 hours will now show up as a faint dusting. Perform a fast follow-up vacuuming and a final damp-wipe.
- Sunday: Replace the central ventilation filters, uncap the grilles, and restore full airflow to the property.
You do not need to invest thousands in dedicated machinery for a single job. If you only need professional extraction or scrubbing power for a weekend, look into our equipment rental options. Rental periods are available for private individuals and trade pros for up to 30 days.
Common Mistakes That Bring Dust Back
- Dry-sweeping with a broom: Brooms catch coarse debris while launching respirable dust straight back into the room, where it hangs for hours before settling onto finished surfaces.
- Grabbing a standard home vacuum: Domestic filters clog up immediately, forcing fine particles through the motor and exhaust, and risking terminal burnout.
- Mopping or wiping surfaces first: Adding water to unvacuumed plaster forms a wet slurry that lodges in grain, seams, and corners, drying into stubborn streaks.
- Leaving ventilation systems running: Pulling construction dust into central ducts distributes hazardous particles throughout the entire building for weeks to come.
- Neglecting to change HVAC filters: Even with sealed grilles, fine particles find their way into central air systems. Replace your filters as soon as dusty trades leave the site.
When This Guide Does Not Apply
If you are renovating a pre-2000 property, evaluate whether old vinyl adhesives, pipe lagging, texture coats, or ceiling panels might contain asbestos before disturbing them. Asbestos dust cannot be cleaned using everyday construction protocols; it mandates certified Class H equipment, full-body PPE, negative-air containment, and, in most cases, licensed abatement contractors. Similar high-level protocols apply to extensive toxic mold remediations.
Likewise, if construction dust has already infiltrated the interior of your ventilation ductwork, simply sliding in fresh filters will not solve the issue. The ducts must be mechanically inspected and purged by an HVAC cleaning professional.
The secret to a pristine finish is discipline: let the dust drop, extract it completely dry with a Class M vacuum from top to bottom, damp-wipe with clean water, and return a couple of days later for a light final sweep. The right machine will cut your labor in half, but respecting the sequence is what keeps the dust from coming back.
Frequently Asked Questions
No. Plaster, drywall, and concrete dust will choke domestic paper or foam filters in minutes. This starves the motor of cooling air—often causing it to burn out—while blowing fine particulate straight through the exhaust and back into the room. Always use an industrial Class M vacuum, which can be rented for short-term jobs.
Wait at least overnight. Ultra-fine particles linger in the air for hours after work ceases; if you clean straight away, those airborne particles will simply drift back down onto your freshly cleaned surfaces. Planning a second, lighter touch-up a couple of days later will clear out any remaining haze.
Light drywall haze comes off easily with clean water and fresh microfiber cloths, provided you change your rinse water constantly. Cement-based grout haze requires a specialized acidic cleaner; just be sure to verify beforehand that your tiles, fixtures, and adjacent trim are completely acid-resistant.