

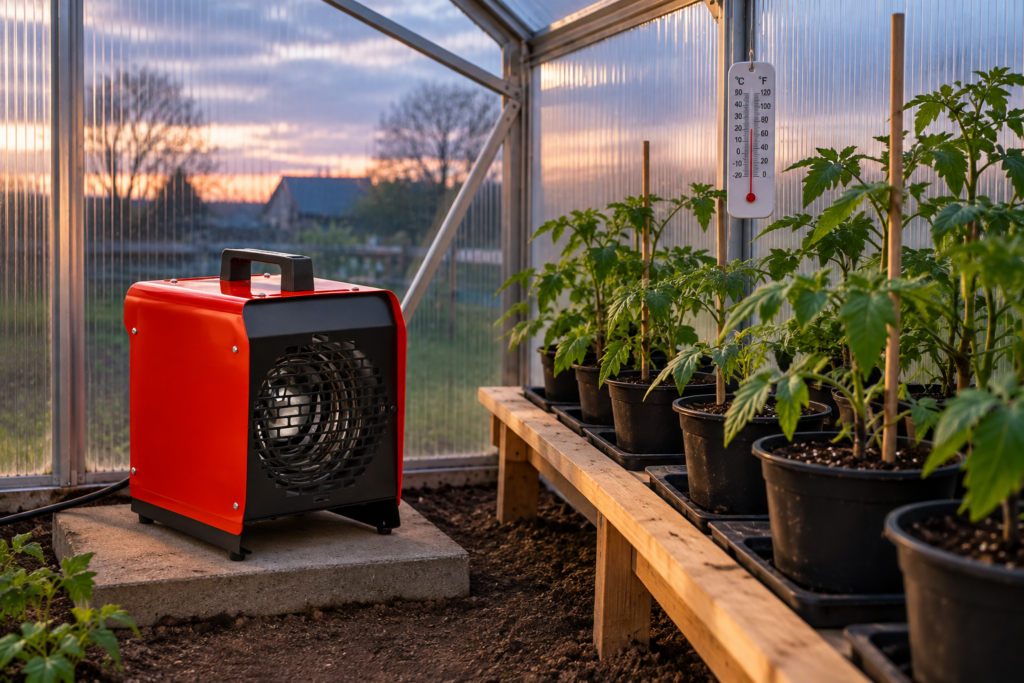
For a standard 3 × 4 m polycarbonate greenhouse in Estonia, a 2–3 kW electric fan heater with an integrated thermostat and splash protection (at least IP24) is generally all you need. Tomatoes require a nighttime minimum of 10 °C to thrive, whereas 4–5 °C is sufficient for basic frost protection. Before investing in a larger heater, seal drafty doors and vents and line the interior walls with bubble wrap—it is the single most cost-effective way to curb heat loss. Never run unvented gas, paraffin, or direct-fired diesel heaters in an enclosed greenhouse: combustion byproducts stunt plant growth and create dangerous conditions for humans.
| Heating Solution | Best Suited For | Main Drawback |
|---|---|---|
| Electric fan heater (IP24 or higher) | Hobby greenhouses, cold spring nights | Ongoing electricity costs; requires an RCD-protected outlet |
| Infrared panel (IP55) | Seedling benches or targeted zones | Leaves ambient air cool; uneven heat distribution |
| Indirect-fired diesel heater with flue | Large commercial greenhouses | Substantial upfront cost; requires an external exhaust flue |
| Unvented gas or paraffin heater | Not recommended | Emits ethylene, carbon monoxide (CO), and excess moisture |
What Temperature to Maintain in a Greenhouse
Your target temperature depends entirely on what you are growing. According to the Royal Horticultural Society (RHS), keeping a greenhouse frost-free requires maintaining a nighttime minimum of 4 °C. Tomatoes do far better when temperatures remain above 10 °C overnight. The RHS advises holding off on planting cucumbers until nighttime temperatures reliably hold at 12 °C or higher, while sweet peppers prefer at least 13 °C.
Every additional degree of heat significantly increases power consumption, so set your thermostat to the minimum threshold your crops require rather than targeting room temperature. If you are exclusively growing tomatoes, aim for 10–12 °C overnight. If you are simply overwintering pelargoniums or other tender perennials, 5 °C is plenty.
In Estonia, supplemental heating is primarily a springtime concern. According to Ilm.ee, the risk of spring frosts generally subsides in early May on the western coast, around May 10–15 in Southern Estonia, and from May 20–25 in Northern Estonia. However, late frosts in Northern Estonia have been documented as late as Midsummer. In unheated greenhouses, growers typically hold off on planting tomatoes until late May, once the soil reaches at least 15 °C. Adding reliable supplemental heat lets you plant several weeks earlier and harvest well into late autumn.
How Much Heating Capacity Do You Need?
Calculating the heating capacity your greenhouse requires is straightforward: Heat loss (W) = Surface area of covering (m²) × U-value (W/m²K) × Temperature difference (K). The U-value measures how many watts of heat escape through one square metre of glazing for each degree of temperature difference between the inside and outside air.
Typical U-values for dry greenhouse glazing materials:
- Single-pane glass or single-layer polythene film: approx. 6–7 W/m²K
- Double-layer polythene: approx. 3.4–4 W/m²K
- Multiwall polycarbonate: approx. 3.4–4 W/m²K (higher for thinner profiles)
Because this calculation assumes a perfectly sealed enclosure and does not account for drafts around door frames and roof vents, always add a 25% safety margin to your final figure.
Example: Sizing a 3 × 4 m Greenhouse
An arched 3 × 4 m polycarbonate greenhouse has an external surface area (including gable ends) of roughly 35 m². Standard 4 mm twin-wall polycarbonate has a U-value of about 4 W/m²K. Consequently, the greenhouse loses 140 W of heat for every degree of temperature difference between indoors and outdoors (35 m² × 4 W/m²K = 140 W/K).
- Mild May frost: Outdoors −2 °C, target indoors 10 °C. The temperature difference is 12 K, resulting in a base heat loss of 1,680 W (140 × 12). Adding the 25% safety buffer brings the required heating output to roughly 2.1 kW.
- Sharp April cold snap: Outdoors −8 °C, target indoors 10 °C. The 18 K difference results in a base heat loss of 2,520 W. Factor in the safety margin, and you need approximately 3.2 kW of output.
A 3 kW electric fan heater will comfortably see an insulated hobby greenhouse through typical spring frosts. If your structure uses single-pane glass or a single polythene sheet, its U-value is nearly double, requiring twice as much heat to maintain the same temperatures.
Running costs are equally simple to project. Over a 10-hour heating window with an average temperature difference of 8 K, the greenhouse requires around 1.4 kW (140 × 8 × 1.25), consuming 14 kWh per night. According to Eurostat, the average residential electricity price in Estonia in the second half of 2025—including grid fees and taxes—stood at 25.44 cents/kWh. That puts running costs at roughly €3.50 per cold night, or about €100 for a month of continuous chilly nights. If you are on an hourly spot-price contract, your actual expenditure will vary with market rates.
Choosing the Right Greenhouse Heater
Electric Fan Heaters
For hobby growers, electric fan heaters are the most practical and dependable choice. They consume no oxygen, produce zero fumes, circulate air continuously, and use built-in thermostats to cycle on and off automatically. Constant air circulation also acts as natural disease prevention: according to the University of Massachusetts Greenhouse Crops and Floriculture program, continuous air movement dries wet foliage faster and drops humidity within the plant canopy, significantly reducing the incidence of gray mold (Botrytis cinerea).
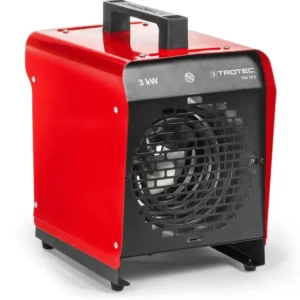
Always choose a fan heater explicitly rated for humid, damp environments. The Trotec TDS 19 E features an IP24 splash-proof housing, two heat settings (1.5 kW and 3 kW), and a stepless thermostat. For larger structures, the TDS 50 delivers 4.5 kW or 9 kW of output with IPX4 water resistance. You can explore suitable models in this range of electric fan heaters.
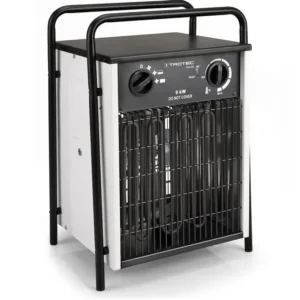
A critical warning: The visually similar TDS 20 R carries only an IP20 rating, offering no protection against moisture ingress. While fine for a dry workshop or garage, running an IP20 heater in a greenhouse—where condensation and watering overspray are constant—creates a severe short-circuit and fire risk. Always check the ingress protection rating before buying: the second digit must be at least 4.
Never place the heater directly on damp ground; mount it on a concrete paver or an elevated stand. Direct the warm airflow down the central walkway between crop rows, never directly at foliage or glazing. Aiming hot air directly at plants will scorch leaves, while pointing it at the walls sends valuable heat straight outside.
Infrared Panels
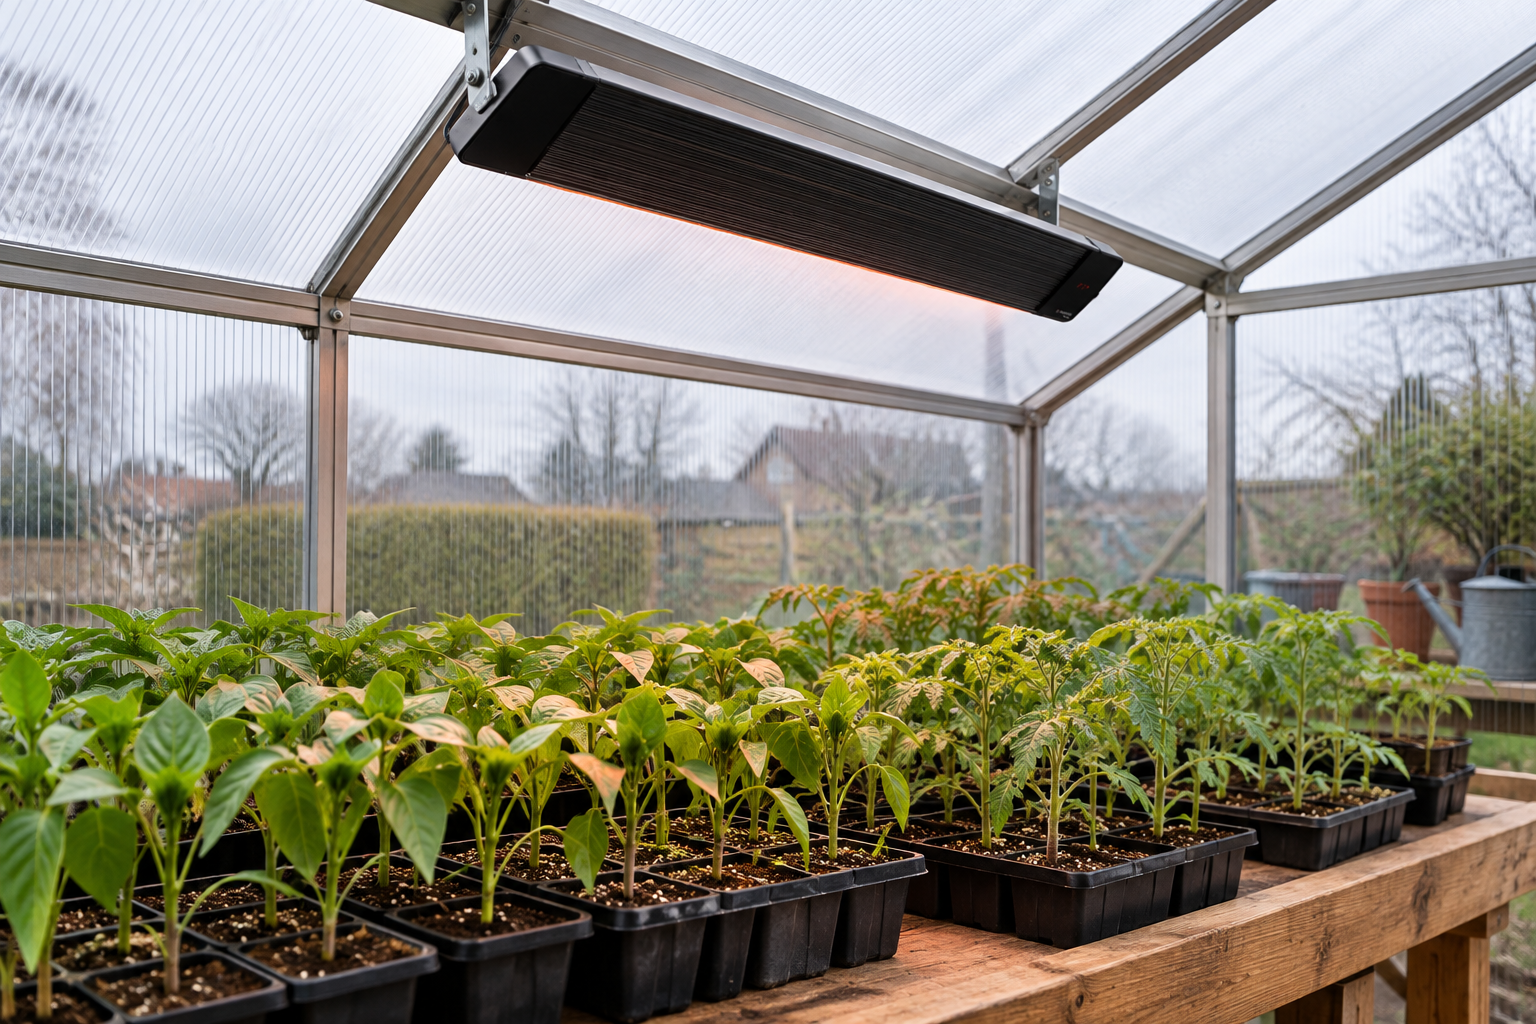
Infrared heaters warm surfaces, soil, and foliage directly rather than heating the air. In a greenhouse trial in Greece where canopy temperatures were held at 15 °C, infrared heating used on average 43% less energy than forced-air convection systems. The main drawback is uneven coverage: plants directly beneath the radiant zone stay warm, while corners and perimeter beds remain cold. Because radiant panels do not move air, localized humidity can also spike.
Infrared panels are best deployed for targeted zone heating, such as keeping seedling benches warm, rather than heating an entire greenhouse. The IRD 1800 offers IP55 protection and an adjustable output between 600 and 1,800 W.

Gas, Paraffin, and Diesel Heaters
Unvented fuel burners dump carbon monoxide, sulfur dioxide, ethylene, and massive volumes of water vapor directly into the greenhouse air. According to the Agriculture and Horticulture Development Board (AHDB), ethylene concentrations as low as 0.05 ppm can trigger premature senescence in tomatoes and cucumbers, stunting vegetative growth and dramatically reducing yields. The moisture produced by combustion condenses on cold panels overnight and drips back onto crops, creating prime conditions for fungal outbreaks. In a small hobby greenhouse, carbon monoxide buildup also poses an acute safety hazard to anyone stepping inside.
Direct-fired construction space heaters have no place around living crops. Commercial greenhouse operations use indirect-fired heaters equipped with dedicated flue stacks that discharge combustion gases outside. In high-humidity commercial settings where electric heat is preferred, heavy-duty stainless steel fan heaters—such as the 10–15 kW Biemmedue EK 15 P—are standard.
Reduce Heat Loss Before Sizing Up Heating Capacity
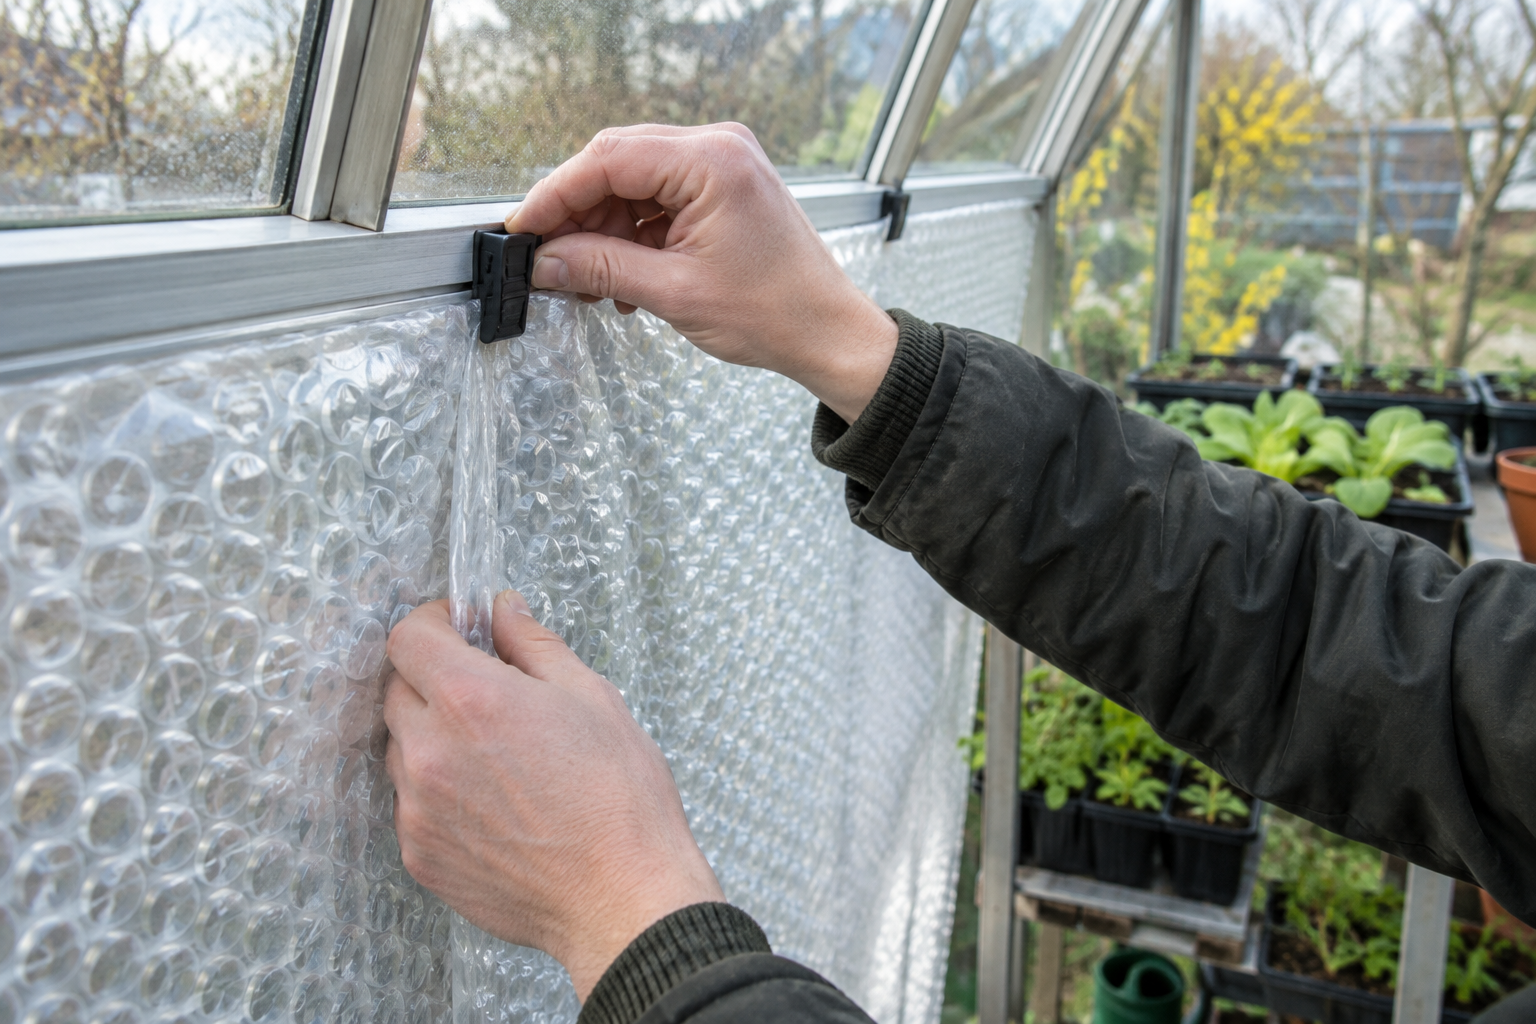
The RHS points out that the vast majority of heat lost in a greenhouse escapes through structural joints, perimeter gaps, and drafts. Before upgrading to a higher-capacity heater, seal the seams around doors and roof vents and replace damaged glazing. The RHS recommends lining the greenhouse interior with bubble wrap insulation: while it cuts light transmission by around 10%, the trade-off is well worth it for the dramatic reduction in your spring heating bill.
Single-pane glass and single-layer film lose roughly twice as much heat as multiwall materials. Michigan State University Extension notes that upgrading to double-layer polyethylene or multiwall polycarbonate cuts heating energy requirements by roughly 40% compared to single glazing. If you only have a few trays of early seedlings, you can also hang a clear plastic curtain to partition off one end of the structure. Heating only the space you actively use cuts your heat loss proportionally.
Thermostats, Sensor Placement, and Humidity
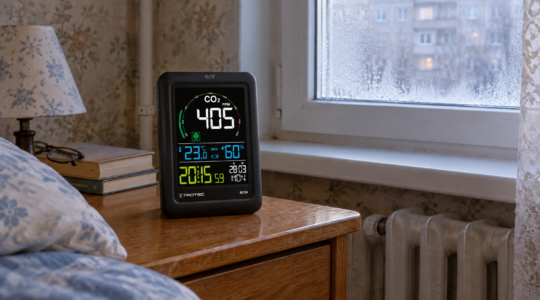
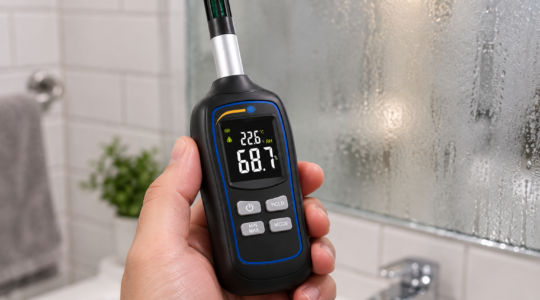
A fan heater’s built-in thermostat only reads the ambient air directly surrounding the unit, which rarely reflects the temperature around your plants. UMass Extension recommends mounting temperature sensors at plant canopy height in the middle of the growing area, shielded from direct sunlight and positioned away from cold exterior walls and direct airflow from the heater. Set up a digital min/max thermometer alongside your sensor to log overnight temperature swings and verify your system’s performance. You can choose a suitable monitor from this selection of temperature and humidity meters.
Keep close track of relative humidity. When air reaches full saturation overnight and contacts cool glass, condensation forms on leaves, sharply raising the risk of botrytis and other fungal issues. Run your heater’s fan continuously in fan-only mode so air circulates even when the heating elements cycle off, and open roof vents on mild mornings as soon as the sun warms the structure.
Electrical Safety in the Greenhouse
High humidity, routine watering, and damp soil turn greenhouses into electrically hazardous environments. Under international electrical standard IEC 60364-4-41, socket circuits up to 20 A must be protected by a 30 mA residual current device (RCD). If your greenhouse lacks dedicated electrical wiring, have a certified electrician install an outdoor-rated, weatherproof socket fed through an RCD breaker. Never run standard indoor extension leads across the lawn or leave power strips sitting on the damp ground.
Once spring frosts have passed and nighttime temperatures stabilize, disconnect the heater, clean away accumulated dust, and store it indoors. Trotec’s manufacturer guidelines advise storing heating equipment in a dry environment protected from freezing and heat extremes. Leaving an idle heater inside a humid greenhouse all summer exposes delicate circuitry to persistent moisture and irrigation spray, causing premature component failure.
When Greenhouse Heating Isn’t Worth the Cost
Attempting to heat an uninsulated hobby greenhouse through deep midwinter is rarely cost-effective. If outside temperatures plunge to −15 °C and you want to hold 10 °C inside, that same 3 × 4 m greenhouse requires roughly 4.4 kW of continuous heating power. Standard hobby structures are simply not engineered to retain heat in severe winter weather. During January and February, starting seedlings indoors under LED grow lights is vastly more economical; move them into the greenhouse once April arrives.
If you only need heat for a brief two- or three-week window—such as sheltering tender transplants during a sudden late frost—you can also rent a heater. For larger greenhouses or commercial applications, always calculate your total heat loss profile and consult an HVAC professional before buying equipment.
Calculating your greenhouse heating needs comes down to a clear formula: covering area × U-value × temperature difference, plus a 25% safety margin. For most hobby growers, a 2–3 kW splash-proof electric fan heater paired with an RCD-protected outlet and bubble wrap insulation provides the perfect balance of crop protection, safety, and energy efficiency.
Frequently Asked Questions
No. Candles generate negligible heat relative to the volume of a greenhouse while emitting soot and potentially harmful combustion gases. Floating row covers (horticultural fleece) provide far better passive freeze protection, while an electric fan heater is needed for dependable temperature control.
Tomatoes grow best when nighttime temperatures stay above 10 °C. While they can survive lower temperatures for brief periods, freezing conditions (0 °C) cause severe frost damage and plant death. Set your thermostat to 10–12 °C for optimal growth.
Yes, provided the heater features splash protection (minimum IP24), built-in overheat protection, and a reliable thermostat, and is connected to a 30 mA RCD-protected outlet. Ensure the unit is positioned stably, never covered, and kept well clear of plastic sheeting, bags, and dry plant debris.